Materials:
- Hook size K
- Worsted weight yarn (pictured is Caron One Pound in Lace)
- Tapestry needle
Stitches/Abbreviations:
- CH - chain
- R - row
- HDC - half double crochet
- ST(S) - stitch(es)
- SC - single crochet
Guage:
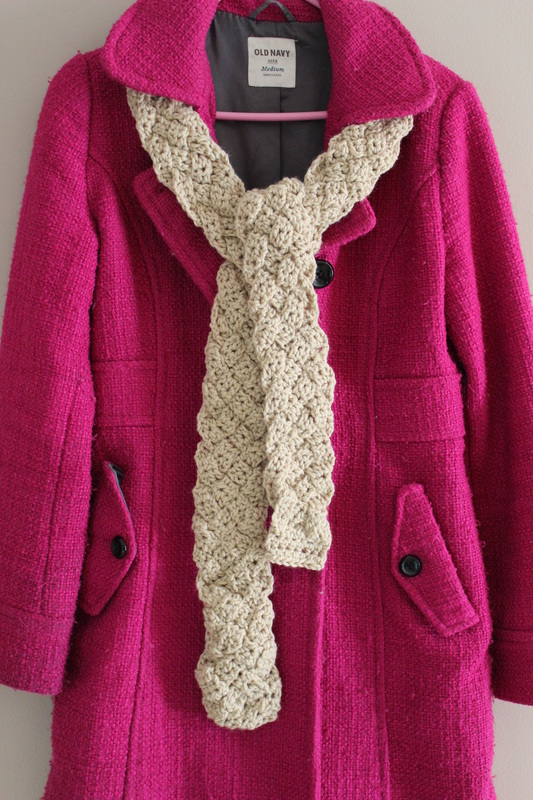
Not terribly important. As pictured, my strips were about 1" wide and 84" long each. The completed scarf measured approximately 5.5" wide and 70" long.
Strips (make 5)
CH 4
R1 - HDC in 3rd CH from hook and in next CH; turn (2 HDC)
R2- CH 2 (does not count as 1st HDC throughout); HDC in next 2 STS; turn
- Repeat R2 until desired length. Mine are approximately 84" long. Just keep in mind that once you braid the strips together, the length will be shortened (my completed length after braiding is 70")
- Do not finish off the strips. Leave a long tail. Do this so that you can even out the strips once you have them braided (I will have a picture in a little bit to show you what I am talking about).
Braiding
First off, here is a great tutorial on how to braid 5 strands together. Below are some pictures I took when I braided my scarf.
- Hook size K
- Worsted weight yarn (pictured is Caron One Pound in Lace)
- Tapestry needle
Stitches/Abbreviations:
- CH - chain
- R - row
- HDC - half double crochet
- ST(S) - stitch(es)
- SC - single crochet
Guage:
Not terribly important. As pictured, my strips were about 1" wide and 84" long each. The completed scarf measured approximately 5.5" wide and 70" long.
Strips (make 5)
CH 4
R1 - HDC in 3rd CH from hook and in next CH; turn (2 HDC)
R2- CH 2 (does not count as 1st HDC throughout); HDC in next 2 STS; turn
- Repeat R2 until desired length. Mine are approximately 84" long. Just keep in mind that once you braid the strips together, the length will be shortened (my completed length after braiding is 70")
- Do not finish off the strips. Leave a long tail. Do this so that you can even out the strips once you have them braided (I will have a picture in a little bit to show you what I am talking about).
Braiding
First off, here is a great tutorial on how to braid 5 strands together. Below are some pictures I took when I braided my scarf.
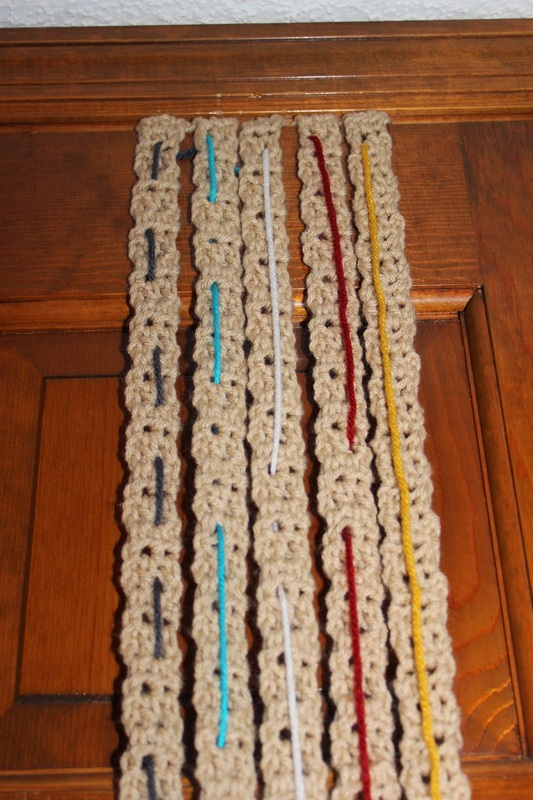

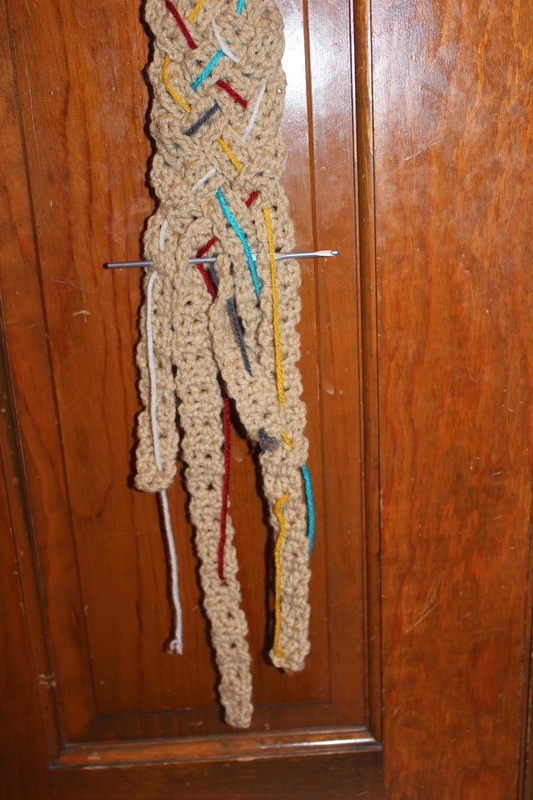
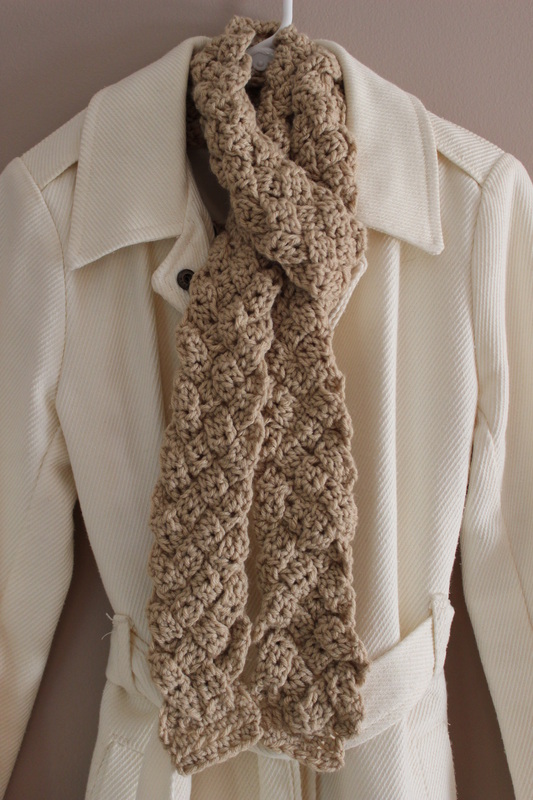
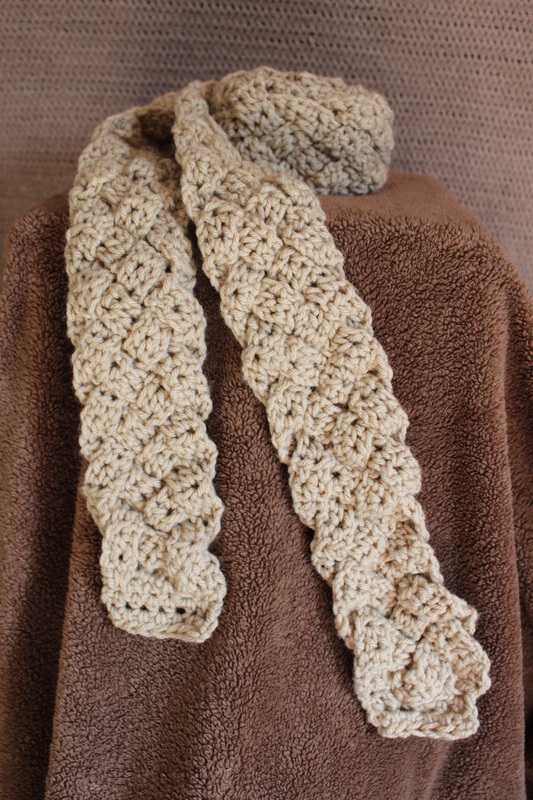
The first picture is just to show how I started by braid. I found it much easier to close the ends of the strips in a door rather than trying to keep them together and braid on the floor. I weaved in different colors of yarn to illustrate how the strips were which is shown in the middle picture. Remember how I said that your ends would be uneven after braiding? This is shown in the 3rd picture above.
I do know how to get around this. I re-did the strips several times, and they never came out even. This is how I evened them out:
First, decide if you want to add length to the short ones or take out length in the longer ones. I found that taken the length out was much easier. If you decide to add length, use that longer tail that you left and add more rows to the strips. If you decide to take length out, just take out as many rows as needed to even up the strips.
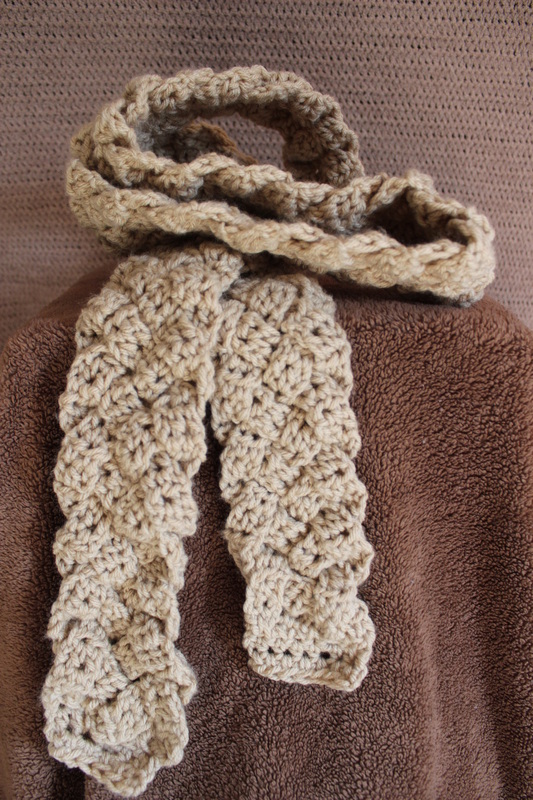
Once the strips are evened out, SC across the bottoms. I did 14 SC (2 SC for each strip, plus one extra to connect/hold together 2 strips). CH 2 (does not count as a stitch); turn and 1 HDC across (14 HDC). Repeat this process for the tops of the strips.
Weave in any remaining ends.
I do know how to get around this. I re-did the strips several times, and they never came out even. This is how I evened them out:
First, decide if you want to add length to the short ones or take out length in the longer ones. I found that taken the length out was much easier. If you decide to add length, use that longer tail that you left and add more rows to the strips. If you decide to take length out, just take out as many rows as needed to even up the strips.
Once the strips are evened out, SC across the bottoms. I did 14 SC (2 SC for each strip, plus one extra to connect/hold together 2 strips). CH 2 (does not count as a stitch); turn and 1 HDC across (14 HDC). Repeat this process for the tops of the strips.
Weave in any remaining ends.
 RSS Feed
